Prototyping training at the Robotics Catalysing Centre
A hands-on session on machine safety and operation across five fabrication machines at HKSTP's RCC — the practical groundwork for building and prototyping at Innospire.
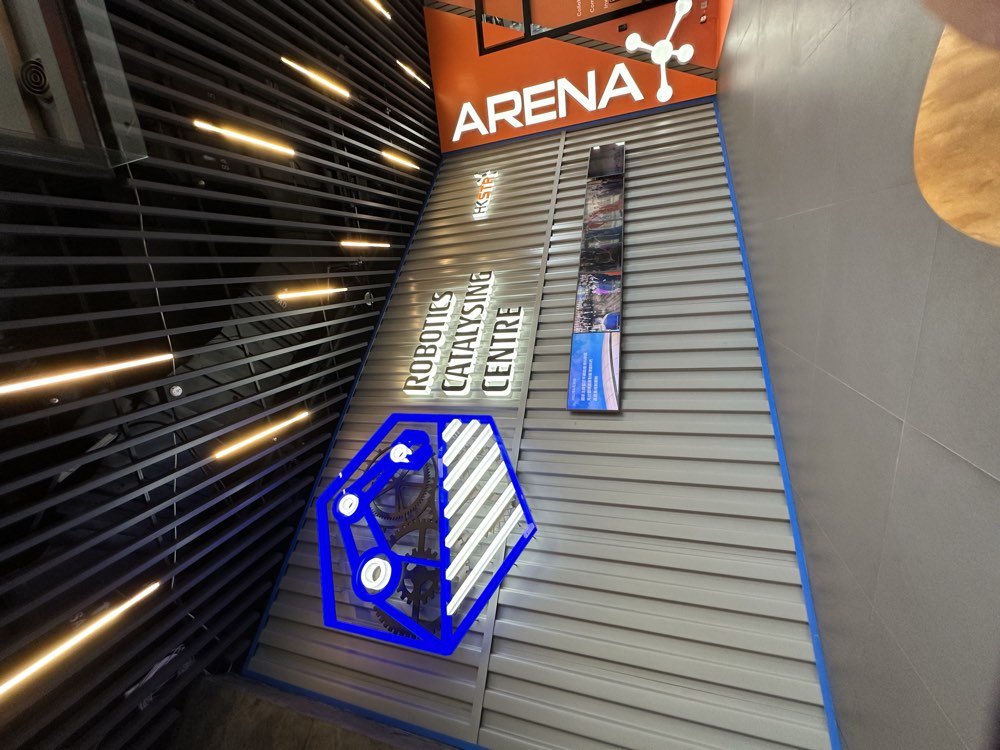
Introduction
I attended the RCC (Robotics Catalysing Centre) training programme at Hong Kong Science Park. The session focused on manual machine safety and operation — drilling, turning, and milling — followed by the two advanced cutters: the laser cutter and the waterjet.
It was a practical, hands-on session covering the full cycle for each machine: safety protocols, setup, operating technique, and post-operation cleanup. These are exactly the skills needed to fabricate and prototype in the RCC's FabLab — and, for me, to start building AI-glasses prototypes at Innospire.
What the training set out to teach
- Understand and apply safety measures for both manual and advanced cutting machines.
- Operate drilling, turning (lathe), milling, laser-cutting, and waterjet-cutting equipment with confidence.
- Learn material-specific parameters, tool selection, and best practices for precise fabrication.
- Understand machine calibration, toolpaths, and kerf compensation for high-quality results.
The five machines, step by step
Each machine followed the same rhythm: gear up safely, set it up correctly, operate it, then clean down. Here is what I learned on each.
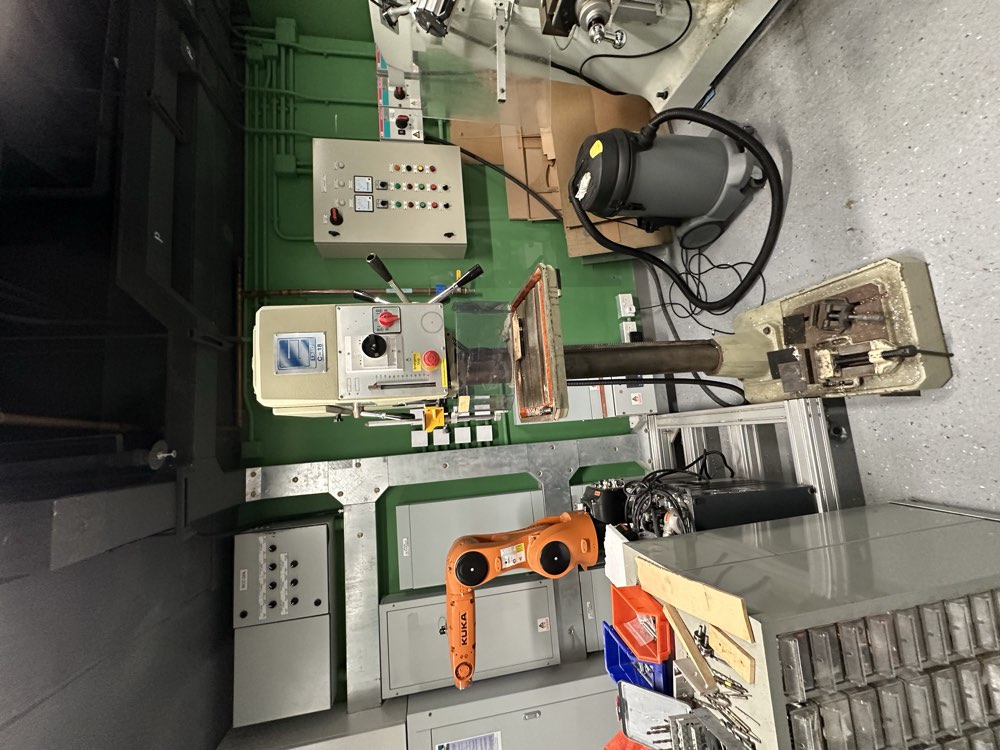
Drilling Machine
Wear safety goggles throughout.
- Select and install a drill bit sized to the material and the hole you need.
- Adjust the worktable and drilling head to the right height.
- Clamp the workpiece firmly with adequate backing support; align the bit with any pre-existing gap so it doesn't damage the piece on breakthrough.
- Set the protective cover to the correct height.
Rotate the feed handwheel to lower the bit into the work progressively.
Clean the drill bit and the work area thoroughly.
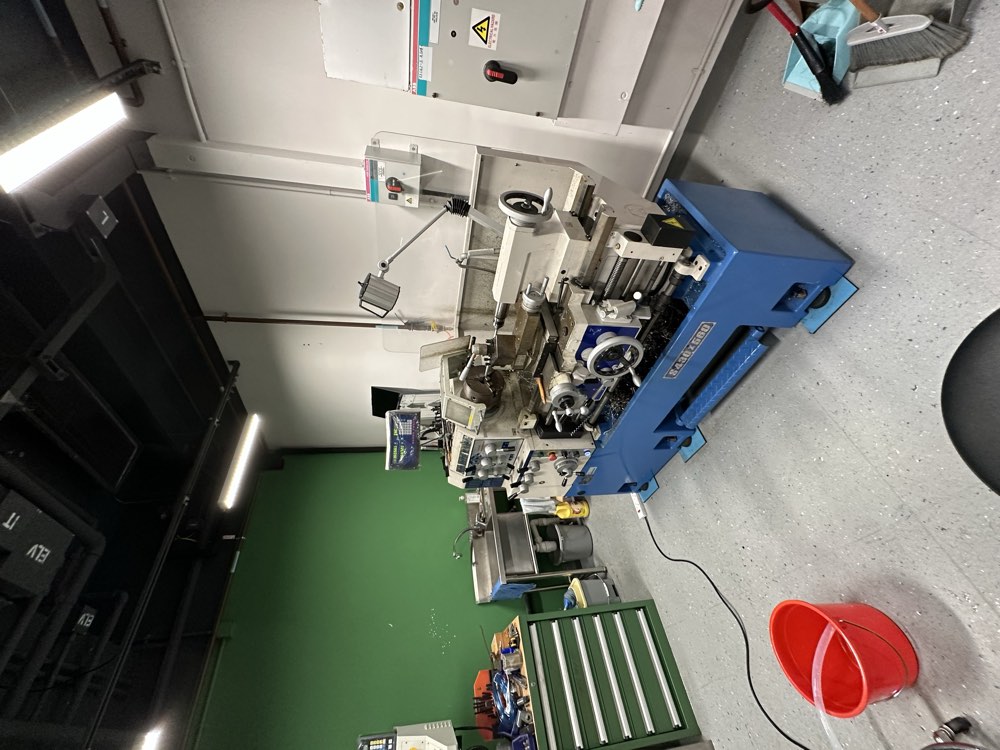
Turning Lathe
Wear safety goggles; know the foot brake for an immediate stop.
- Install the cutting tool and set its angle in the headstock; confirm all locks are secure and check the selected diameter.
- Set the spindle speed to suit the material.
- Use the tailstock for extra support on long workpieces.
- Apply cutting fluid to reduce friction and heat.
- Position the tool along the X-axis for a manual cut, or use the automated feed once the speed is confirmed.
- Step on the foot brake to stop immediately if needed.
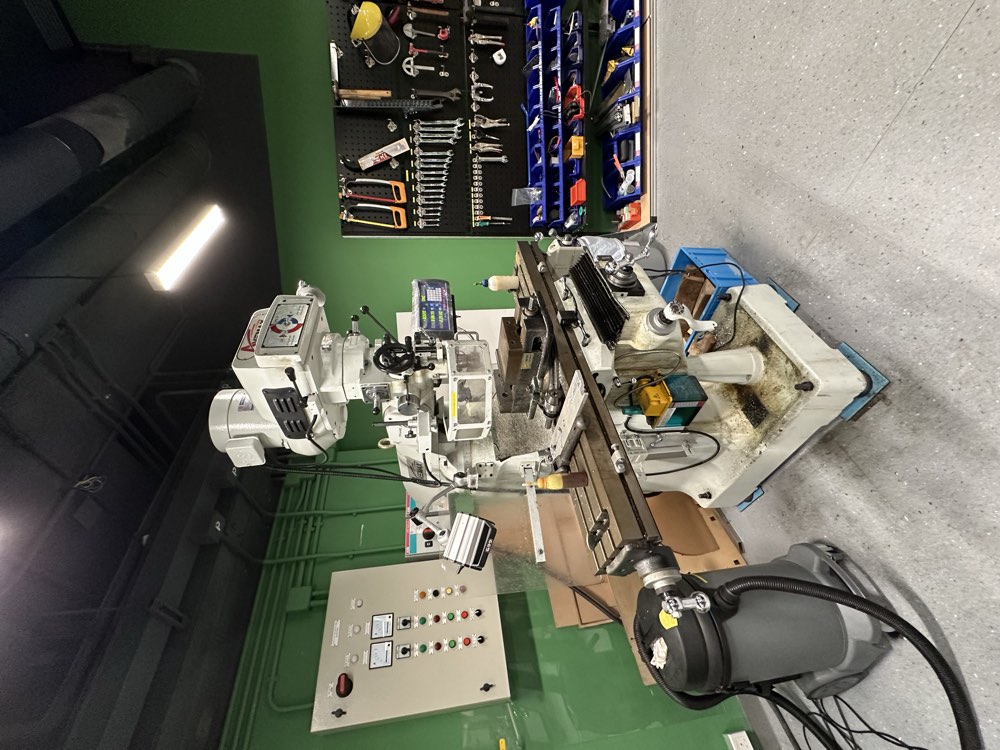
Milling Machine
Wear safety goggles; clear metal chips with a brush, never your hand.
- Install the right milling cutter or drill head.
- Clear all chips and debris from the clamping plate, then add support blocks to set the correct workpiece height.
- Zero the X-axis with the tool just touching the work, then offset by half the cutter diameter to find the true cutting origin.
- Choose the rotational speed for the material.
Apply cutting fluid to improve tool life and finish. Control the X- and Y-axes for a manual cut, or use the automated feed (X-axis only) once the feed rate is confirmed.
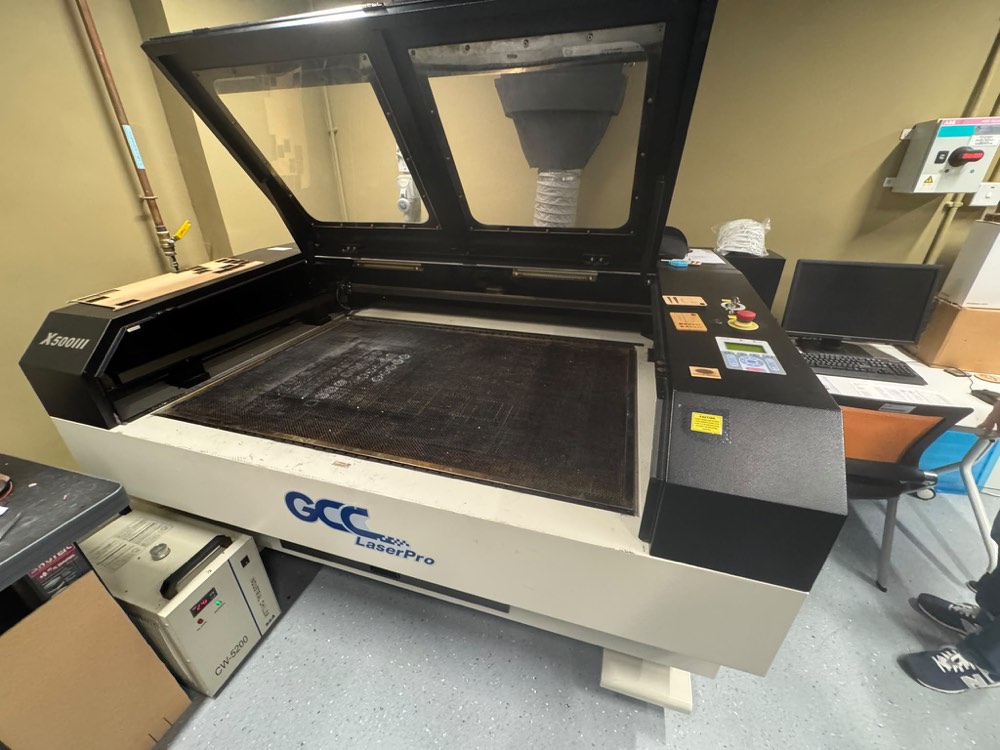
Laser Cutting Machine · GCC LaserPro X500III
Main power, ventilation, and cooling must all be on. Never leave a cut running unattended.
Switch on power, ventilation, and the cooling unit — the machine runs an automatic self-calibration sequence on startup.
- Set the document origin to the top-left corner.
- In Adobe Illustrator, map colours: green = scanning, red = full cut-through, black = engraving.
- Set power, frequency, and speed to match the material and thickness.
- Run a dry pass with the beam off to confirm the toolpath.
- Compensate for the ~0.6 mm laser kerf: offset outer contours by +0.06 mm and inner contours by −0.06 mm to hit final dimensions.
- The physical origin is the leftmost corner of the work area; check fillet and circle tangency before cutting.
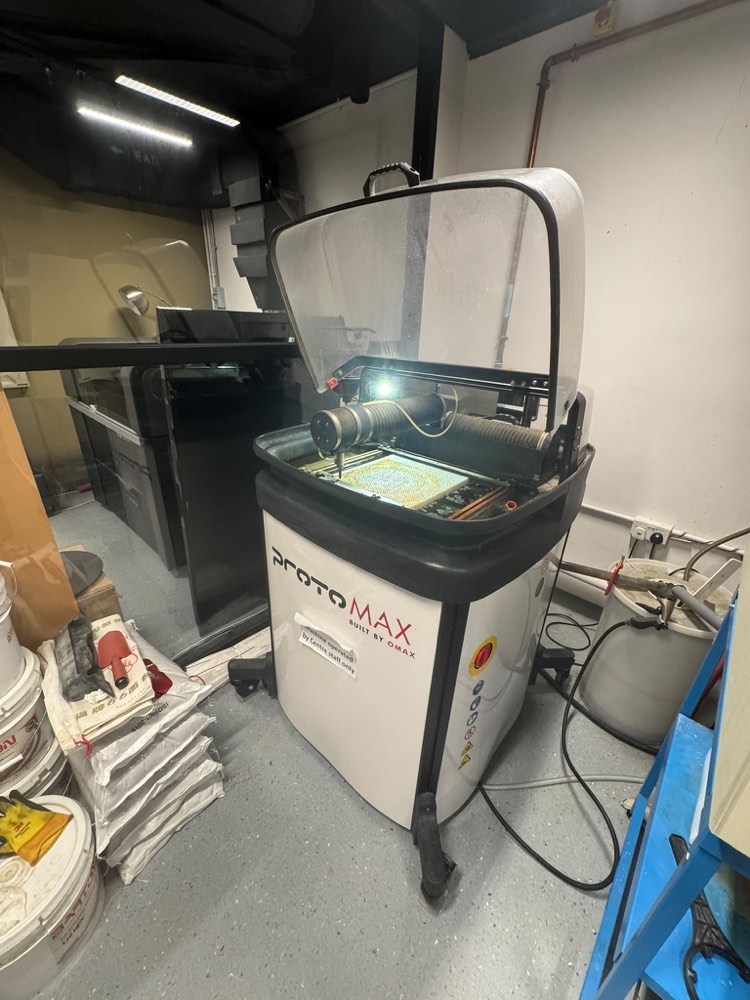
Waterjet Cutting Machine · OMAX ProtoMAX
Extremely high-pressure water — keep well clear during operation.
- The machine self-calibrates automatically on startup.
- Add sand to the left-hand storage and connect the sand tube so it mixes properly with the water stream.
- Review the machine-generated cutting path and adjust it to avoid the clamping plates.
- Enter the material type and thickness in the software to set the cutting speed.
Run a trial pass without water pressure to confirm the route.
Clear sand from the worktable and surroundings with compressed air.
Key learnings & skills gained
Goggles, firmly secured workpieces, protective covers, and knowing every machine's emergency stop.
Tool selection, speed and feed settings, zeroing a reference point, kerf compensation, and always doing a dry/trial run first.
Adapting speed, cutting fluid, and power settings to the material type and thickness.
Calibration, software setup (e.g. Illustrator colour maps for the laser), path verification, and a thorough clean-down.
Why it matters for Innospire. These fabrication skills map straight onto building AI-glasses prototypes — machining fixtures, laser-cutting jigs, and prototyping housings in the RCC's FabLab. See how the machines fit together in the RCC beginner's guide, and where prototypes go for testing in the MDTL guide.
Conclusion
The RCC training was practical and well-structured. It gave me both the foundational and the more advanced fabrication skills needed for innovation work — and I now feel prepared to safely and effectively use the prototyping resources at HKSTP.
Report by Nicholas Brandon Yang, based on the RCC prototyping training attended on 23 July 2026. Photographs are first-hand from the RCC workshop. Machine procedures are as taught during the session. Not an official HKSTP publication.